SCIM Setup
This document shows how to enable SCIM.
The Sytch documentation for this adds extra steps and is also a bit outdated in some sections, so we have created this document specifically for our clients to help in the setup.
Create Entra Application
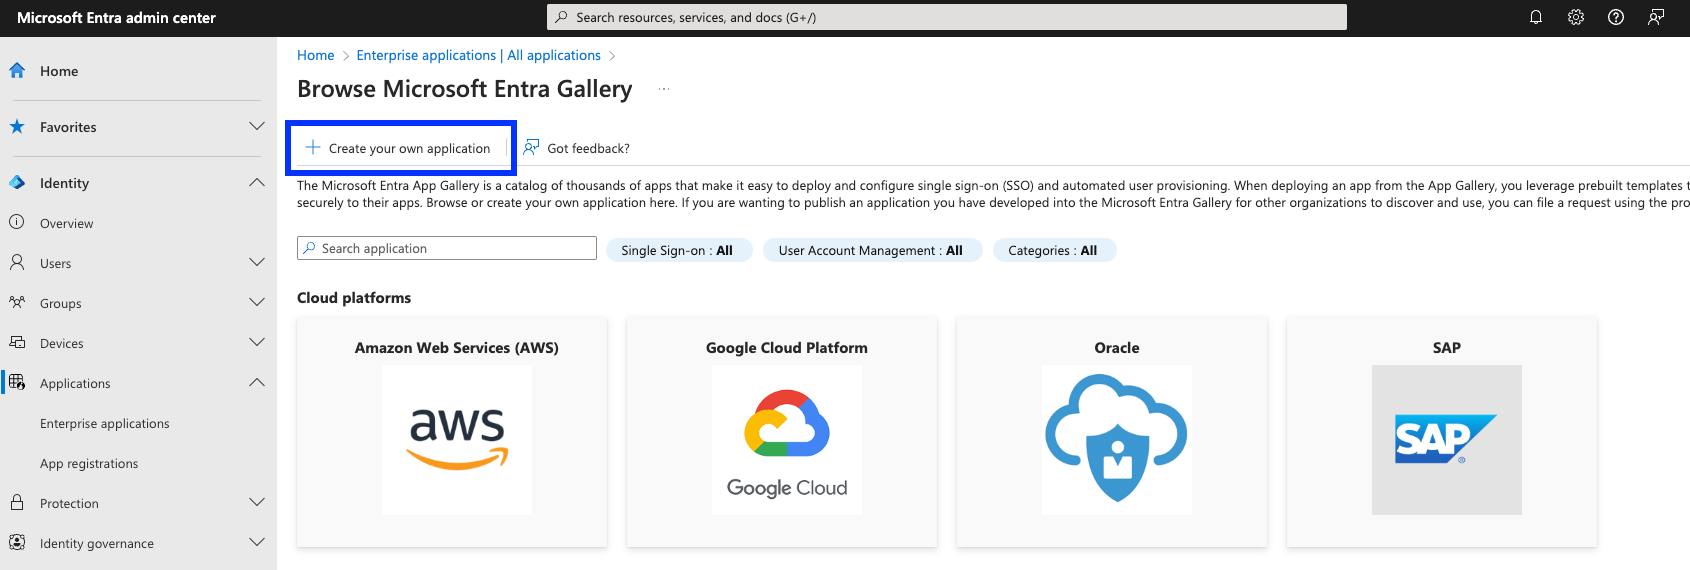
If you don’t already have an application in Entra, create one by navigating to “Applications” → “Enterprise Applications” and selecting “create your own application”.
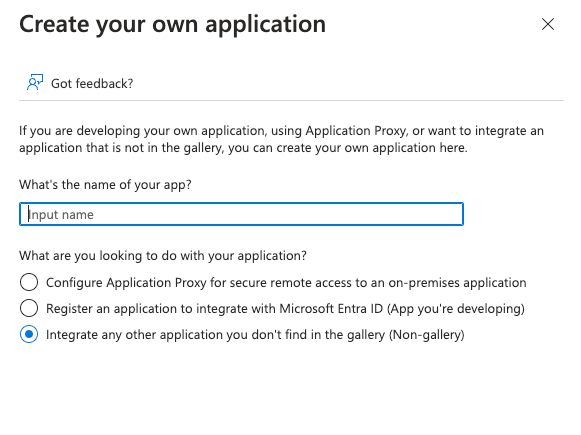
In the app creation flow, input a name for your application and select “Integrate any other application you didn’t find in the gallery).
Enable automatic provisioning
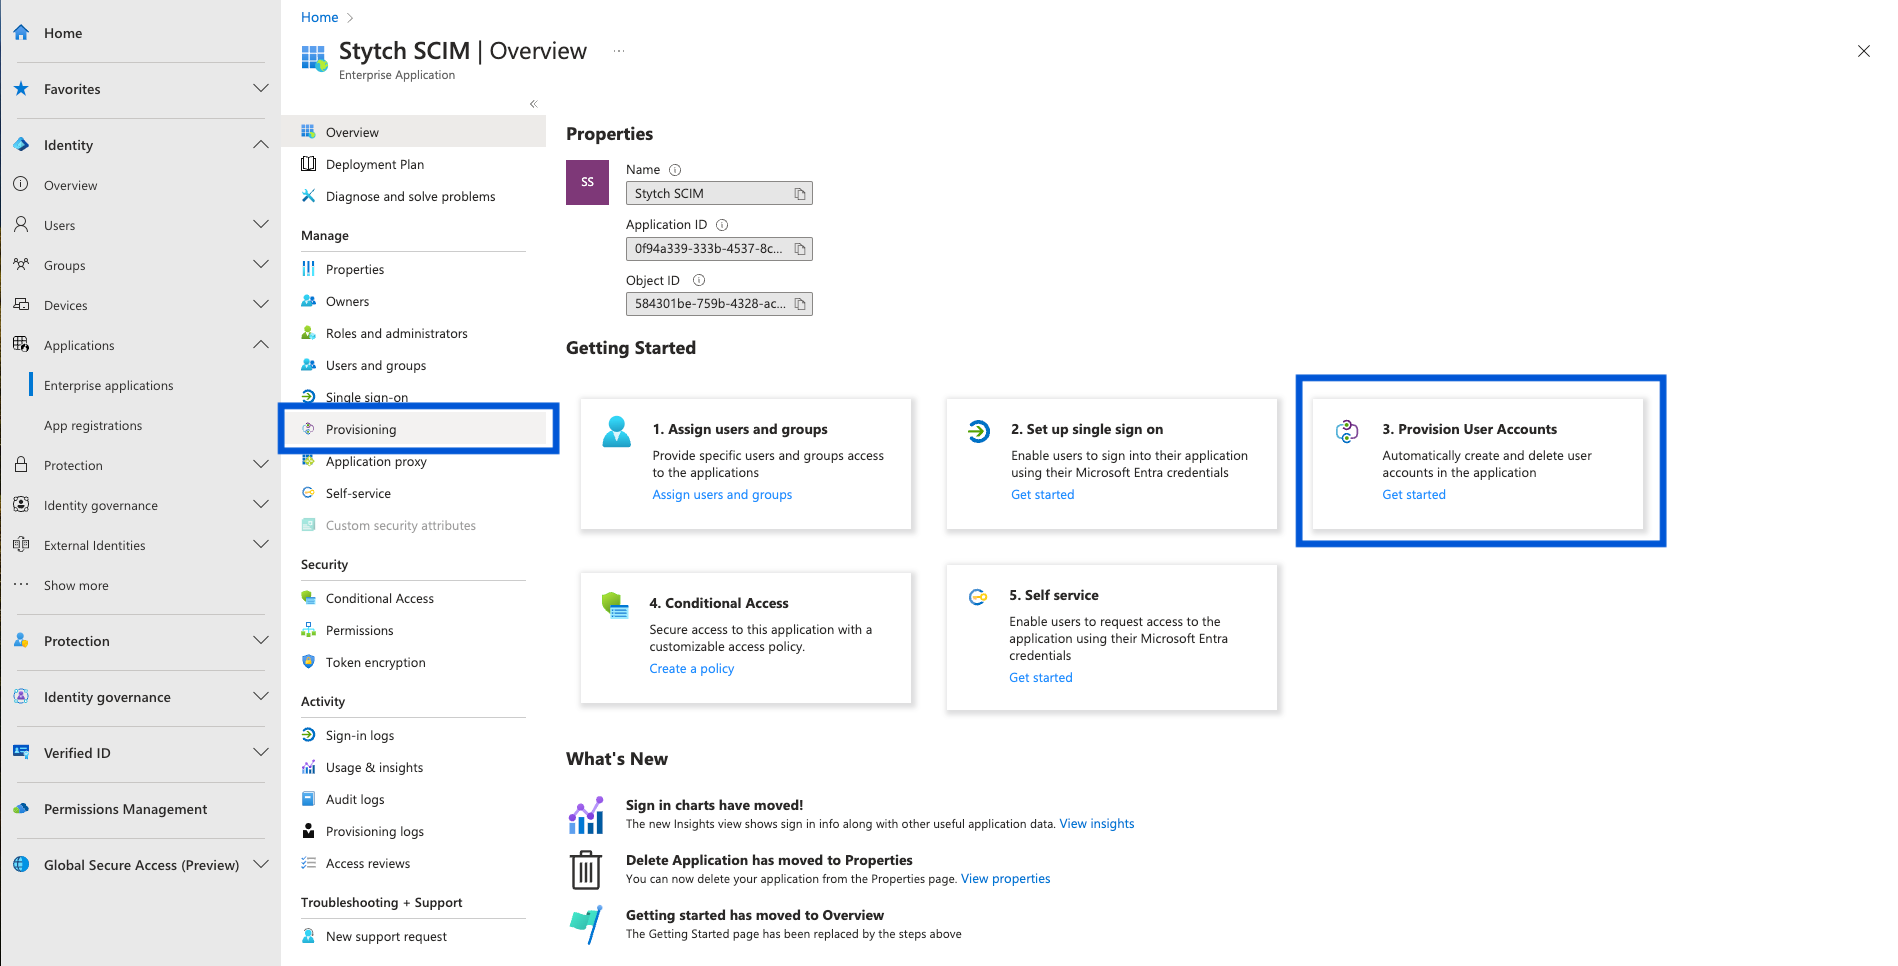
Once you have an application, you can enable SCIM by clicking on “Provisioning” on the left hand management side bar, or “Provision User Accounts” under the Getting Started section.
Next, under Get Started > Create Configuration, click Connect your application .
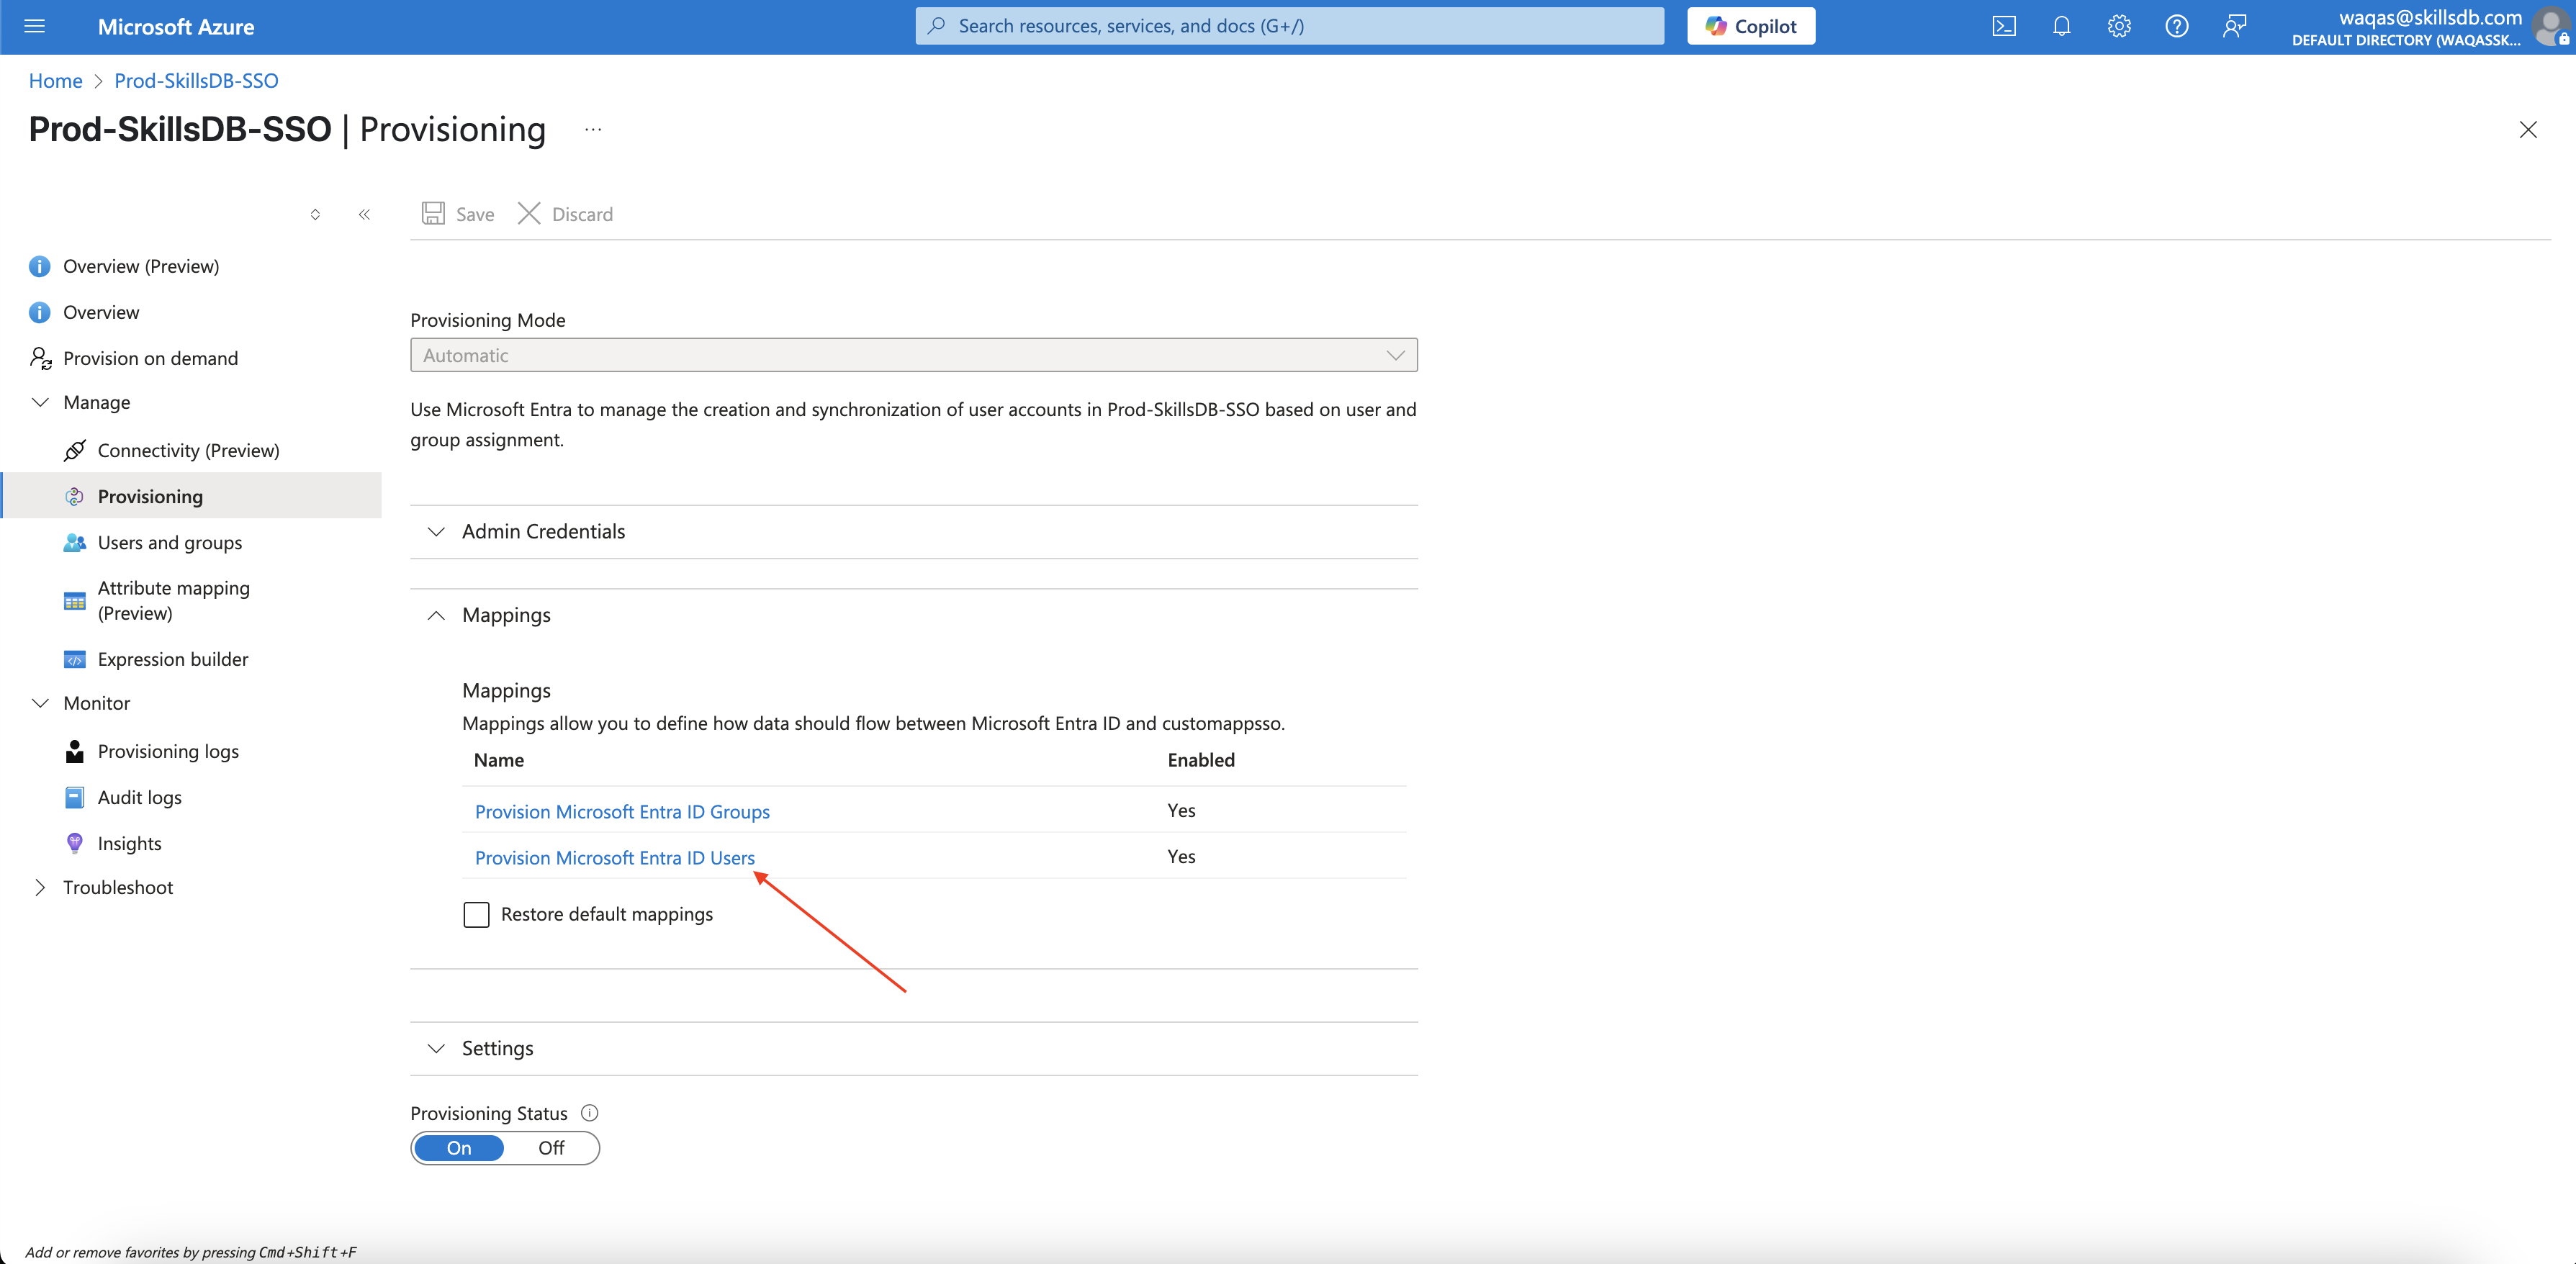
Choose Automatic from the dropdown.
Provide Credentials
Under the New provisioning configuration, get the Tenant URL and Secret Token from SkillsDB personnel and add it in the corresponding fields and hit Test Connection .
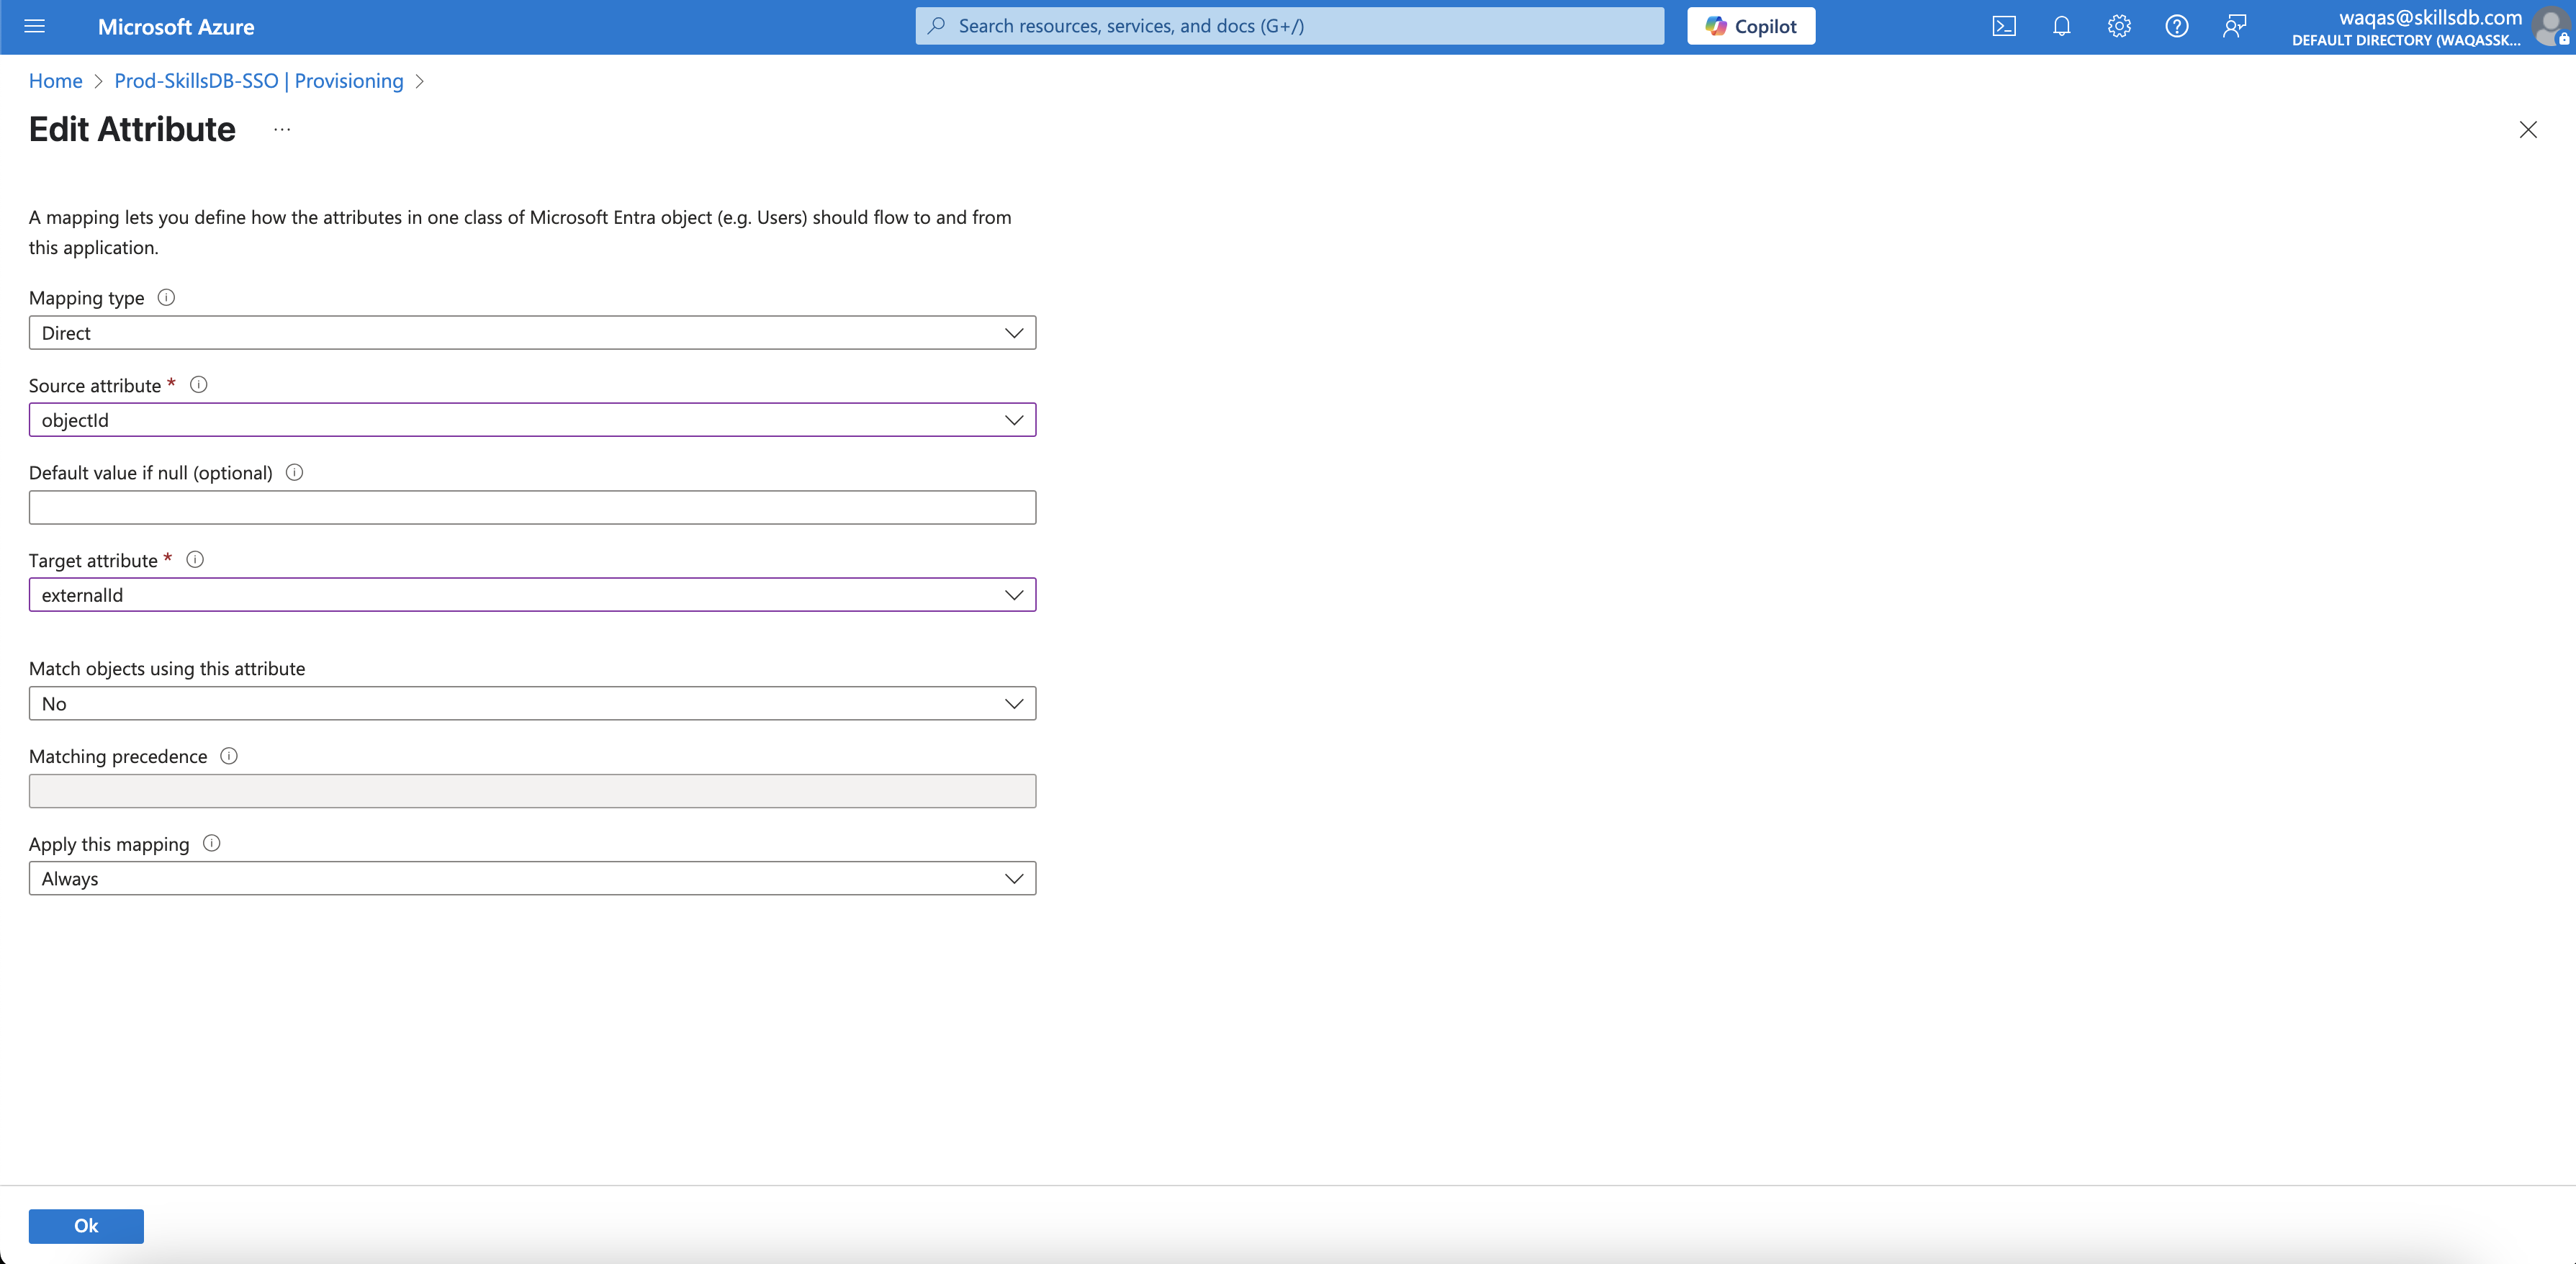
Mapping and Attributes
On the left sidebar, under
ManageclickProvisioning.Click on
Provision Microsoft Entra ID Users.
Locate the
externalIdrecord in the customappsso Attributes.Update the Source Attribute to
objectId.Click OK and Save.
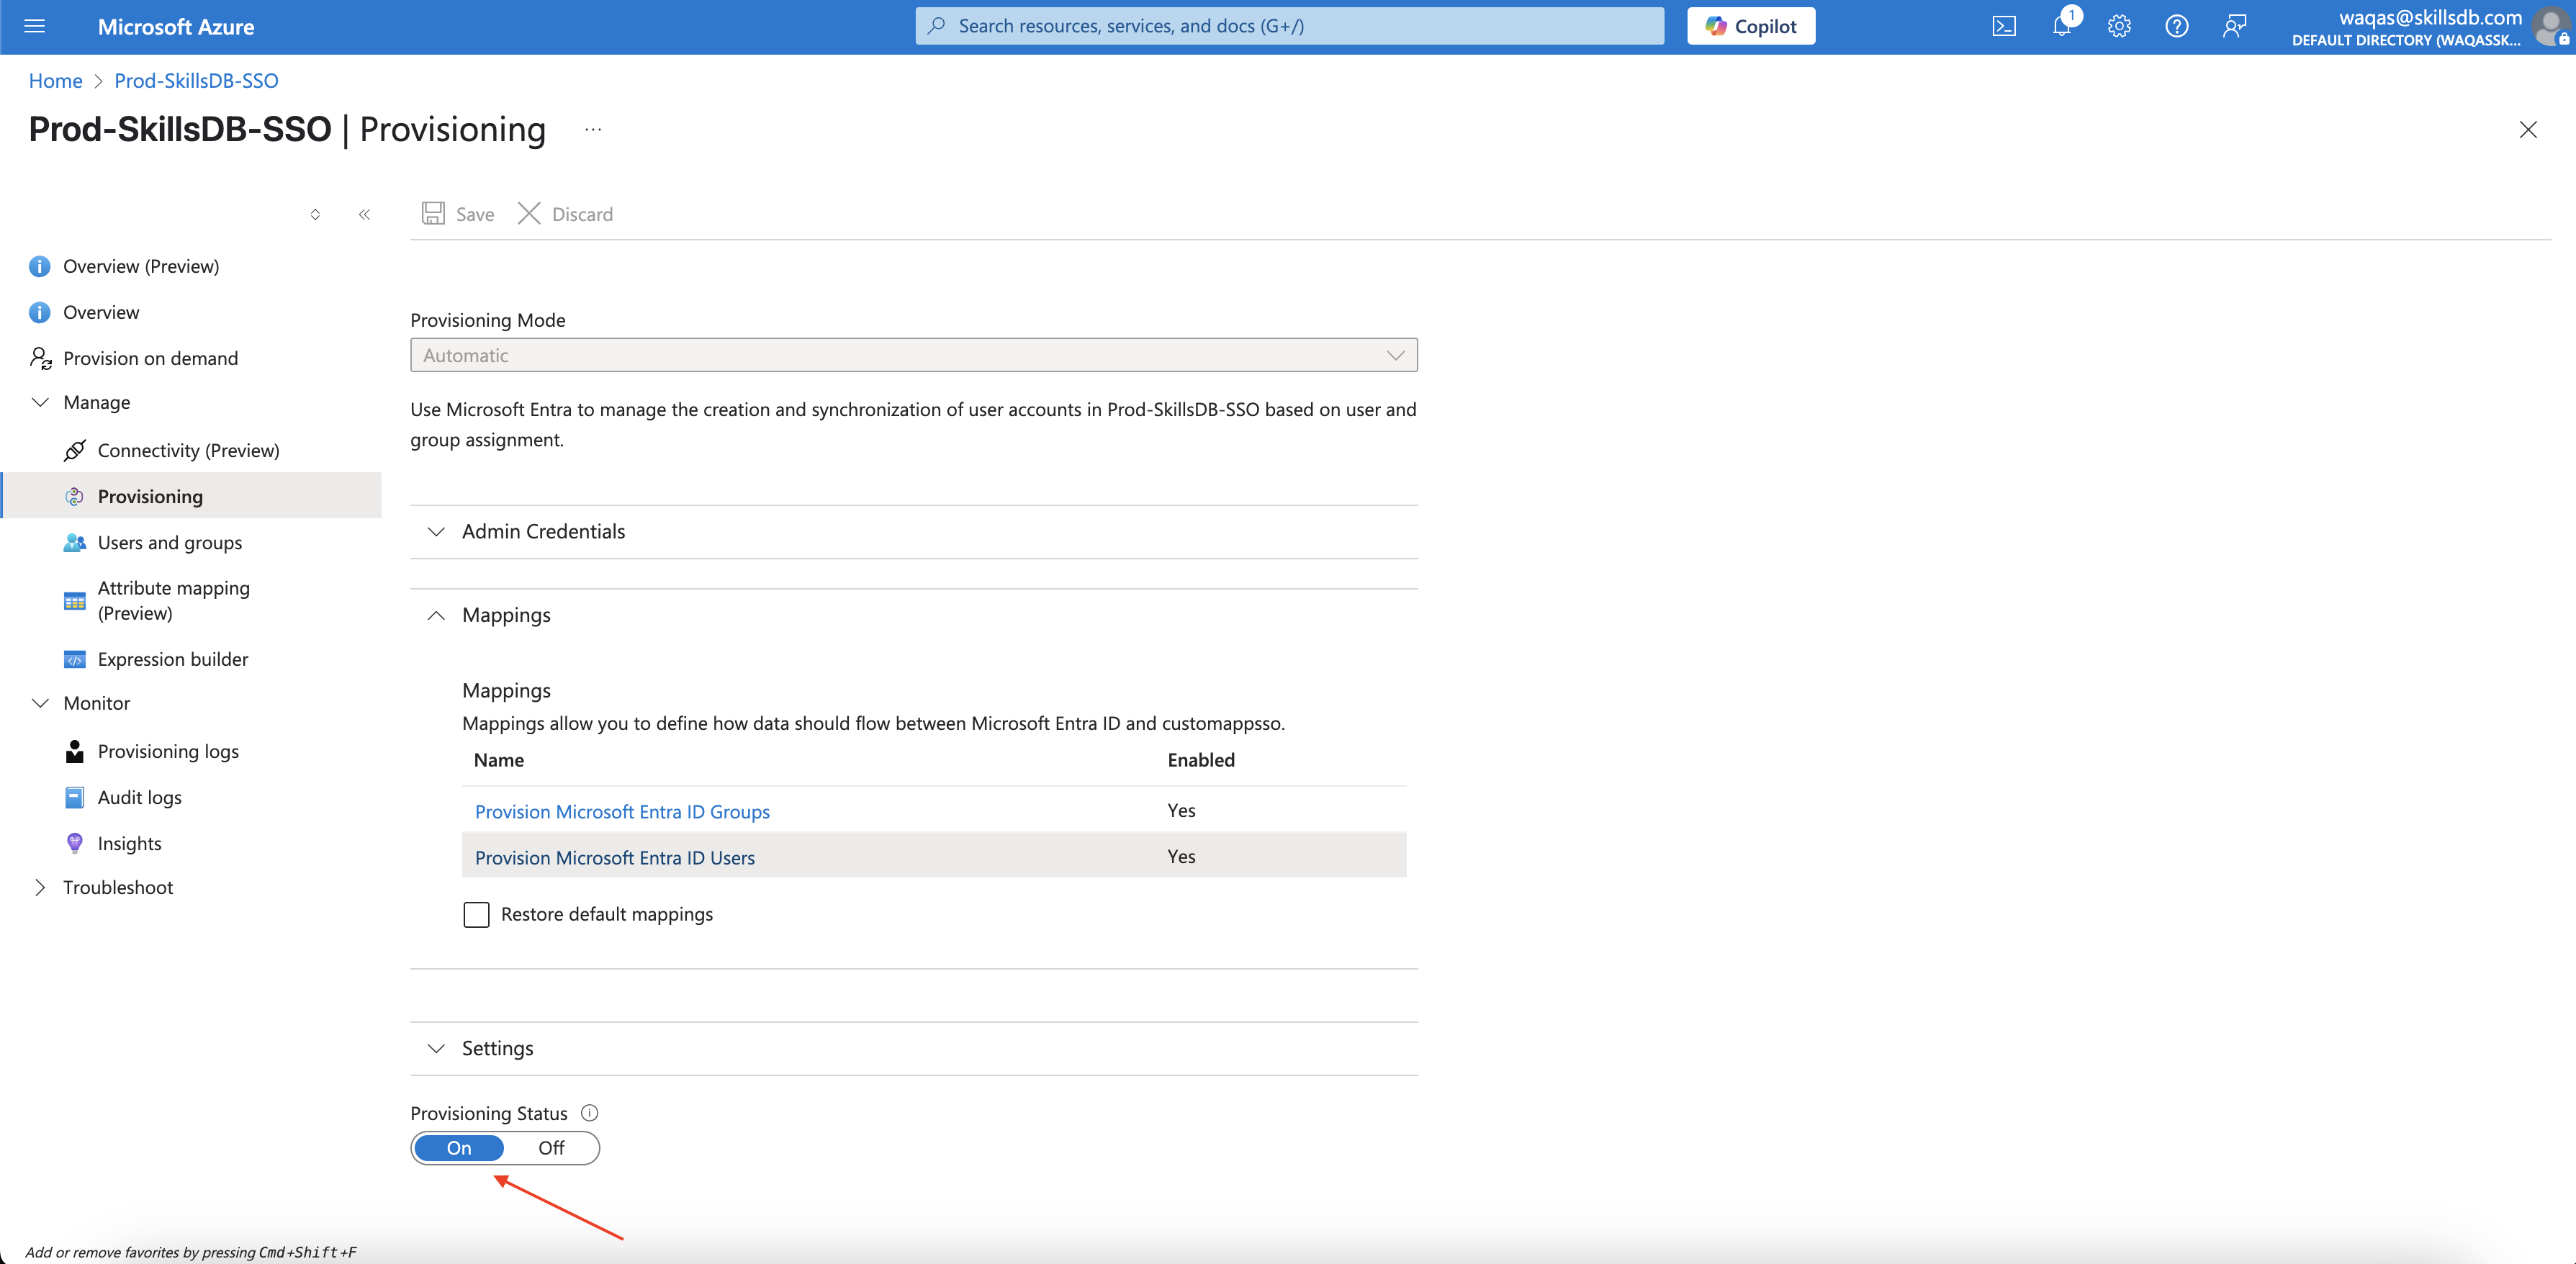
Back on the Provisioning page, turn Provisioning Status to On.
Provision users
Once saved, test the SCIM integration by Assigning/Removing people from the application and seeing these changes propagate to your Stytch Member records. Entra does automatic syncing on a 40 minute timer, but you can also Provision on Demand to speed up testing.